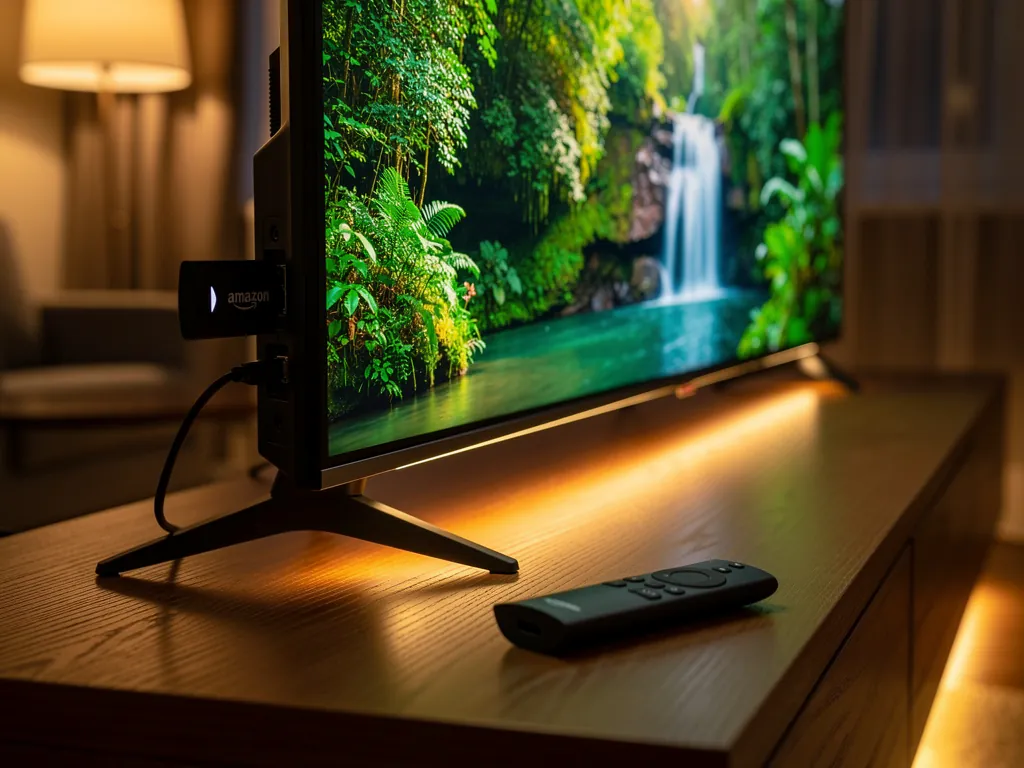
Setting up IPTV on a Fire TV Stick 4K Max takes about ten minutes: connect it to your 5 GHz or Wi-Fi 6 network, allow unknown apps for Downloader, install your player, and log in with your M3U link or Xtream Codes. I have done this on my own 4K Max 2nd gen and on friends' sticks more times than I can count, and done right it streams 4K live channels that an older stick simply cannot hold.
The part almost every guide skips is that the 4K Max is not just a faster stick. It has Wi-Fi 6, a stronger chip, and more memory, and every one of those matters for live IPTV in a different way. It also means the 2026 setup has two steps that did not exist a year ago, and most tutorials you will find are still describing the old flow. This is the exact order I do it in, including the two places people get stuck now.
Why the 4K Max is the stick I recommend for IPTV
Because live IPTV is the hardest job you can hand a streaming stick, and the 4K Max is the only Fire TV Stick built for it. A Netflix stream ramps up and sits in a big buffer. A live channel runs for four hours straight with no room to stumble, so the three things the 4K Max upgrades are the three things that decide whether your stream holds.
- Wi-Fi 6. The 4K Max 2nd gen is the first Fire TV Stick with Wi-Fi 6, and on a Wi-Fi 6 router the stick gets a cleaner, faster lane. In my experience this is the single biggest reason 4K streams that buffered on older sticks generally hold on this one.
- A stronger chip. More processing headroom means the player app stays smooth while it decodes a heavy 4K stream, instead of dropping frames when the action speeds up.
- More memory. Live TV chews RAM for hours. The extra memory on the Max means the player is far less likely to get kicked or stutter an hour into a match.
One honest warning, and it comes from a real user report that matches what I have seen. Some people hit a bug where a specific player kicks them out after a few minutes of live TV on the 4K Max while the same line plays perfectly on an older stick. It is almost always the app build, not the stick and not your line. If that happens to you, switch player or install a different version of the app before you blame anything else. I cover the two players worth using below.
What you need before you start
Gather three things first and the whole job takes ten minutes. You need your Wi-Fi name and password, your IPTV login details, and the stick itself. For the login, make sure your provider gives you a full M3U link or Xtream Codes (server, username, password), because that is what lets you pick any player you like. Some sellers lock you into their own app with no M3U, and that is a reason to walk away. Ours hands you both, so you can use TiviMate, Smarters, or anything else and switch the moment one acts up.
- Plug the 4K Max into an HDMI port and the USB power cable into the wall adapter, not the TV's USB port. The TV port underpowers it and the stick throttles under load.
- Use the HDMI extender in the box if the ports are tight behind the TV, so the stick hangs in open air. These sticks run hot, and a hot stick is a buffering stick.
- Switch the TV to that HDMI input and pair the remote when it asks.
How do I connect the 4K Max to Wi-Fi the right way?
Connect it to your 5 GHz network, or your Wi-Fi 6 network if your router offers one, never 2.4 GHz. The 2.4 GHz band is slower and more crowded, and it is one of the top two causes of IPTV buffering on its own. The whole point of paying for the Max is the Wi-Fi 6 radio, and it is wasted if you join the wrong band.
During first setup the stick asks for your Wi-Fi. If your router broadcasts one combined name for both bands, that is fine, Wi-Fi 6 negotiation happens automatically. If it broadcasts separate names, pick the one labelled 5G or 6. If your router supports Wi-Fi 6, check that Wi-Fi 6 is actually enabled on it, because the stick can only use what the router offers.
Better still, go wired. A ten dollar USB-to-Ethernet adapter for the Firestick plugs the stick straight into your router, and wired killed the drops completely on mine. Every stick I have wired since has behaved the same way. If your router sits anywhere near the TV, this is the single best upgrade in the whole guide, ahead of every software setting below.
Why is the unknown sources step different now?
Because Amazon changed it in 2025 and most guides are still wrong. There is no longer one global unknown sources toggle. It is now per app: you allow each app, one at a time, to install other apps. If you are following an old tutorial and cannot find the toggle it describes, this is why.
- Go to Settings > My Fire TV > Developer Options. If Developer Options is hidden, open Settings > My Fire TV > About, highlight your stick's name, and press the select button seven times to unlock it.
- Open Install Unknown Apps. You will see a list of apps, not one switch.
- Find Downloader in the list and set it to ON. If Downloader is not there yet, install it from the Amazon Appstore first, then come back.
This per-app change is where I see people stall in 2026. They look for the old global toggle, do not find it, and assume Amazon blocked sideloading. It did not. The door is still open, it just has a different handle now.
How do I install the player with Downloader?
Install Downloader (the orange icon, by AFTVnews) from the Amazon Appstore, open it, enable JavaScript in its settings, then use it to fetch your player. Downloader is the clean way to pull a player APK straight onto the stick.
- Search Downloader on the Firestick home screen and install it (free, orange icon, by AFTVnews).
- Open Downloader, go to its Settings, and make sure Enable JavaScript is on.
- Enter the official download address for your player and install the APK when it lands.
- Open the player, choose login by Xtream Codes or M3U playlist, and enter the details from your provider.
One fix worth knowing before it bites you. If you ever reinstall a player and it refuses to accept your playlist even though the same login works on your phone, the new app build is usually the problem. The fix real users land on is installing a slightly older version of the app. Check that your M3U or Xtream details are typed exactly right first, then try an older build before you assume the line is dead.
Which player should I use on the 4K Max?
TiviMate is still the player I put on every 4K Max in 2026. Its free tier is genuinely fine for a single TV, and the guide, catch-up, and multi-playlist handling are a class above everything else. IPTV Smarters is the solid second choice and the one many providers hand out pre-configured.
One warning that saves people money: TiviMate Premium (about four dollars a year, covers multiple rooms) is only sold through the Google Play Store, not through the TiviMate website. Buy it inside the Play billing flow and you are safe. For the full head-to-head, including which one handles a big channel list better, read our TiviMate vs IPTV Smarters comparison.
The five settings I change on every 4K Max
Out of the box the stick is fine. With these five changes it is noticeably better for live TV, and this is the list I run through on every Max I set up.
| Setting | What I set it to | Why |
|---|---|---|
| Network band | 5 GHz / Wi-Fi 6, or wired Ethernet | 2.4 GHz is a top-two buffering cause on its own |
| Player buffer size | 10 to 15 seconds | Absorbs the jitter live streams throw at you |
| Free storage | Keep 15 to 20 per cent free | A stick at 95 per cent full lags and stutters |
| Player cache | Clear it weekly | A bloated cache corrupts stream data over time |
| Placement | HDMI extender, open air | A hot stick throttles itself mid-match |
The buffer size one deserves a second look. In TiviMate or IMPlayer, raising the buffer to 10 to 15 seconds costs you a moment when you change channels and buys you a stream that rides through the little network bumps instead of freezing on them. On live sport it is the difference between watching the goal and watching a loading circle.
Where does my service fit in all this?
Every step above is stick and network side, and it gets you a 4K Max that is ready for anything. The last variable is the line you point at it. A well-set-up stick exposes a weak provider instantly, because there is nothing left to blame. That is exactly why I like testing a line on a Max: it is the fairest judge there is.
Our service runs on Anti-Freeze edge servers built for the peak-time load that chokes generic providers, and it gives you a full M3U link and Xtream Codes so the login step above works in any player. The channel list is curated for UK and US viewers instead of bloated with thousands of channels you will never open. If your 4K Max is set up the way I just walked through and the stream still stumbles, the line is the problem, and swapping it is the fix.
The 10-minute version:
Join 5 GHz or Wi-Fi 6 (or go wired). Allow Downloader in Install Unknown Apps. Install TiviMate with Downloader. Log in with your Xtream Codes. Set the buffer to 10 to 15 seconds. That is a finished 4K Max IPTV setup, and it holds 4K live channels an older stick cannot.
Get your 4K Max running tonight
The fastest way to prove the setup works is a good line on it. Grab a free 24-hour trial, log in with the Xtream Codes on your 4K Max, and watch a live channel through your own peak hours, because that is the only test that matters. If you want the app-by-app install steps with more detail, our IPTV Smarters install guide walks through Downloader slowly, and if anything misbehaves once you are running, the Firestick troubleshooting guide covers login, EPG, and playback failures. For the bigger picture on picking a provider that holds up on Fire TV, start with our best IPTV for Firestick guide. When you are ready, view plans start at $23 a month for one connection.